Additional status

If you want to introduce an additional status in Rezolve Ticketing, please follow the steps below:
1. Click Settings in the Ticket Management page, choose the option "Process Flow".
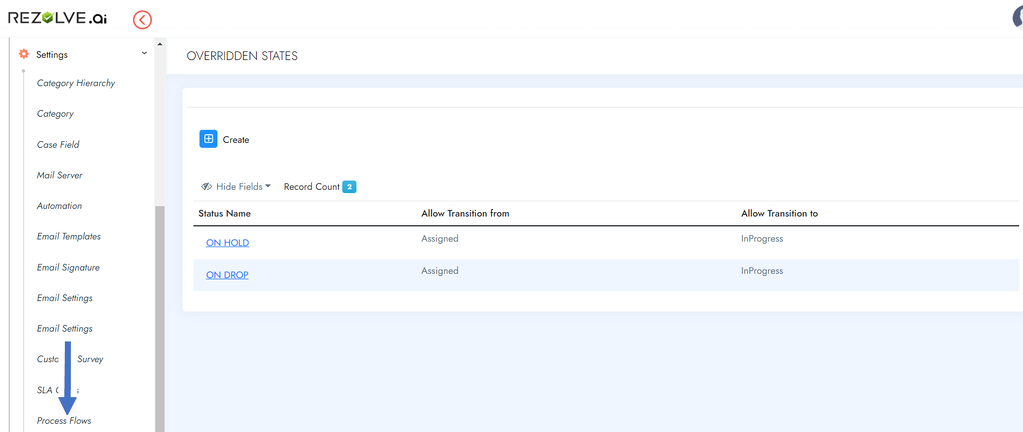
2. Select James Process flow.
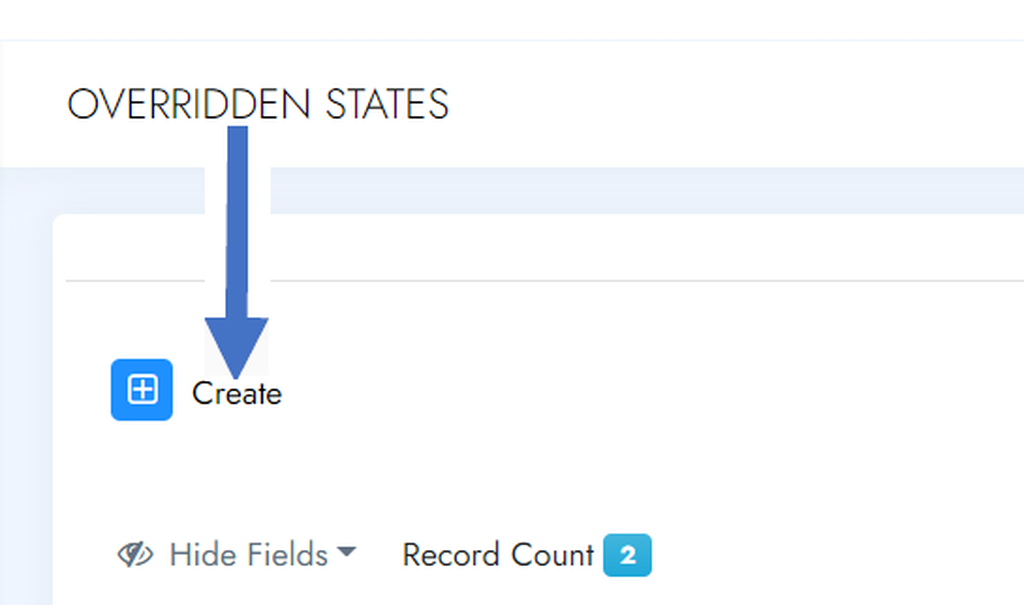
3. On the Overridden States page, click “Create”.
4. On the New status page, enter the name of the new Status in the “Status Name” Field.

5. Check the “Stop SLA Timer” to stop the SLA for this new status.
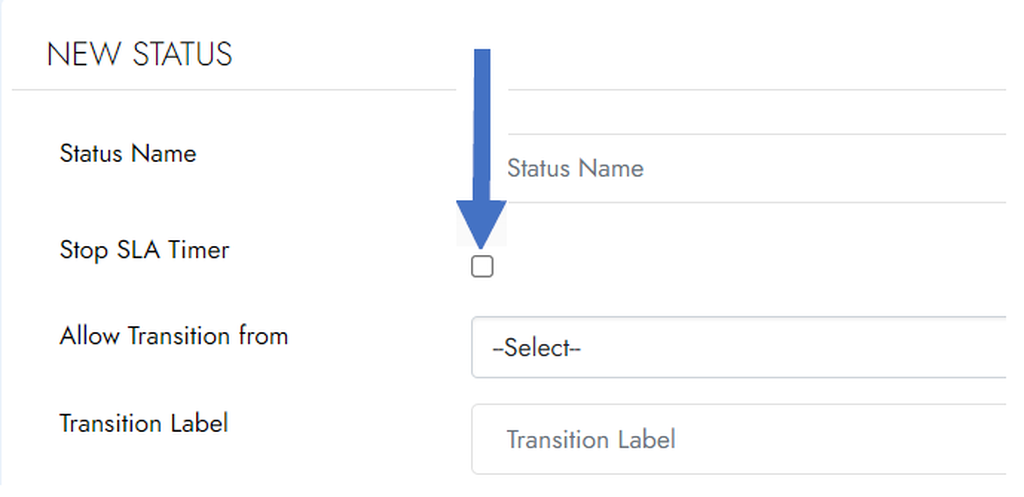
6. “Allow Transition From” is used to select what status the ticket must be in for the new one you are creating to become an option available to agents. Click the drop-down and choose the state.
7. The label of the button to move the ticket to the new status you are creating is set in the “Transition label” field.
8. To set conditional fields for transitioning to the new status use the “Conditional fields” section. Simply click the + sign and a new field will be added.
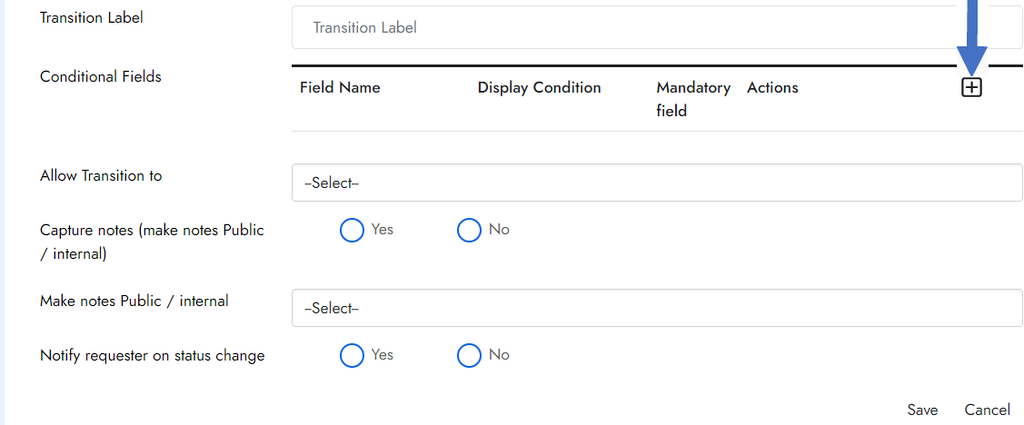
9. “Allow Transition to” is used to select the state to which the ticket could be moved to, while transitioning out of the new status. Click the drop-down and choose the state.
10. Mandatory adding of notes could be enabled or disabled using this option. Select “Yes” to enable capture notes and “No” to disable it.
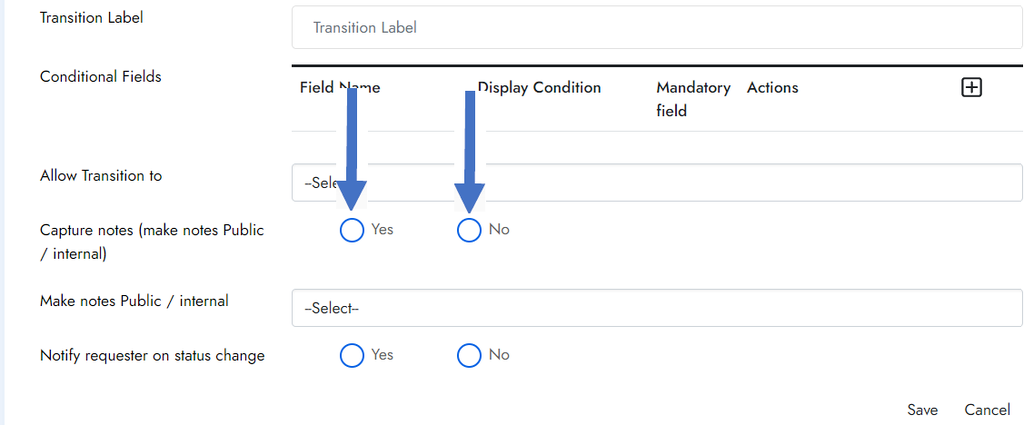
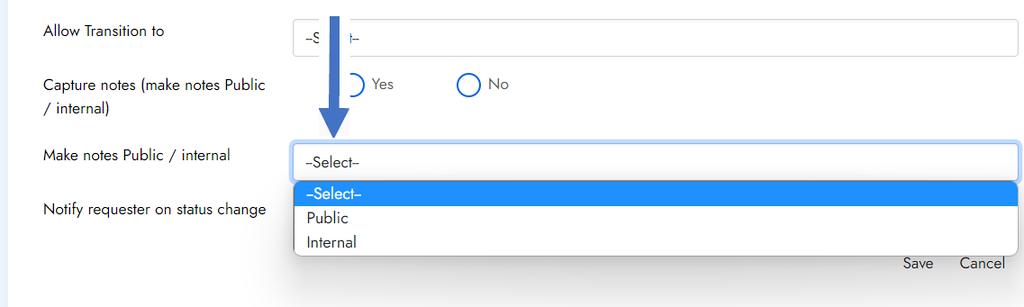
11. The captured notes could be made public or private using this option.
12. If the requester should receive notification about the status change, select “Yes” or select “No” to disable the notification.

13. Click “Save”.
If you do not have the option to create status, please contact your Customer Success Manager to enable it.

Rezolve.ai is an enterprise Agentic AI solution that deploys specialist AI agents for IT and shared services to reduce cost, accelerate resolution, and elevate employee experience.