Live Chat Settings & Queue Administration

This enables Chat Admin to:
- Create queues
- Add/remove users from Queues
Role required
Chat Agent Admin
Create queues
1. Navigating to Live Chat Setting - >Manage Queue.
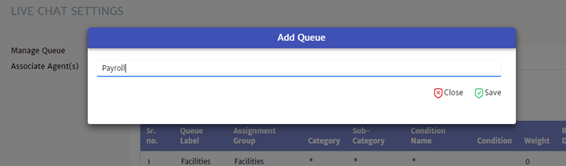
2. Click on ADD QUEUE.
3. On the new pop-up screen called Add Queue, you will need to enter the Queue Name and click on Save.
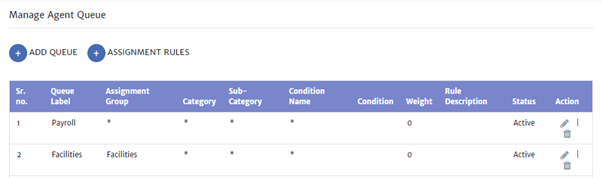
Once created, you will see queue created under Manage Agent Queue with all parameters as *. See Payroll queue below:
Adding Conditions to a Queue
You can then add conditions as instructed by ASC SPOC and click on Save. In this event, it will create a new queue with the same name and updated conditions.
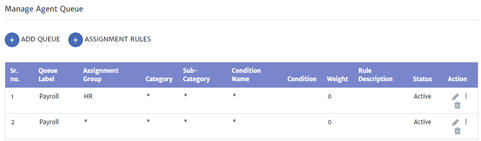
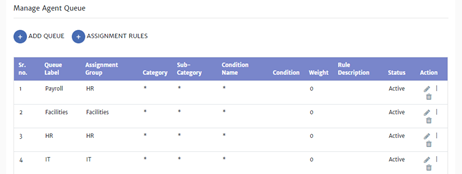
Delete the one that was created earlier – with no conditions. You can use the delete(dustbin) sign under action to delete that queue. In the end, you should have only one queue with the conditions you put in.
Add/remove users from queues
1. For the user to act on Chats, we need to elevate their role and add “Chat Agent” from User Management. Once done, move to the next step.
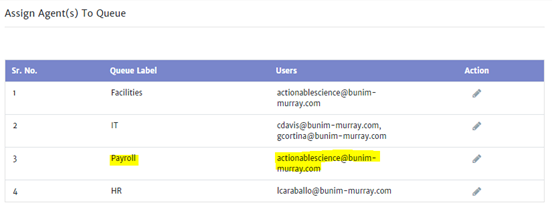
2. Navigate to Live chat - > Live chat settings - > Associate Agent(s) .
3. Select the queue you want to add/remove members to by clicking on Edit (Pencil) sign under actions.

4. Once you click on Edit, a new screen will open:

Add Users to a Queue
1. On the left-hand side, you will see all users who have a chat agent role and can be added in the queue.
2. Select the agent’s name on the left pane and click on Add Selected. The user will now move to the Assigned Agent(s).
3. Click on Update and you will be back on the Associate Agent(s) screen with the new user added for the queue and available under Users.
Remove Users from a Queue
1. On the right-hand side, you will see all users who have a chat agent role and are part of the queue.
2. Select the agent’s name on the right pane and click on Remove Selected. The user will now move to the Available Agent(s).
3. Click on Update and you will be back on the Associate Agent(s) screen with the user removed form the queue and available under Users.

Rezolve.ai is an enterprise Agentic AI solution that deploys specialist AI agents for IT and shared services to reduce cost, accelerate resolution, and elevate employee experience.