Managing Knowledge Base

In Manage Q&A, you can add, edit and delete simple dialogues. It can be found under the Knowledge MGMT.
You might be asking yourself what is a “simple dialogue”. Simple dialogues are when a question is asked, and the bot provides an answer (no need for back and forth between the user and the bot).
Simple Dialogue
Creating Simple Dialogue
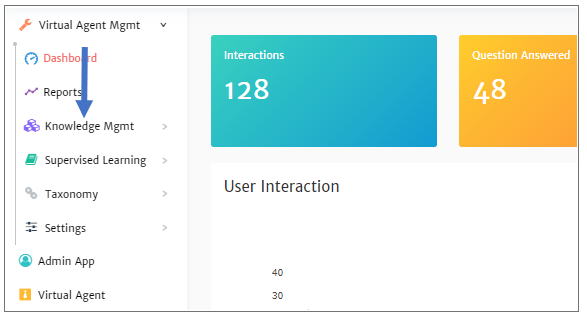
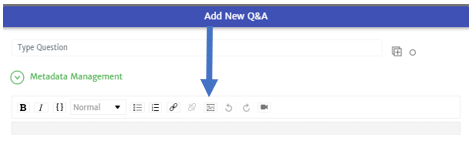
1. Click on Knowledge Mgmt in the navigation pane on the left of your console
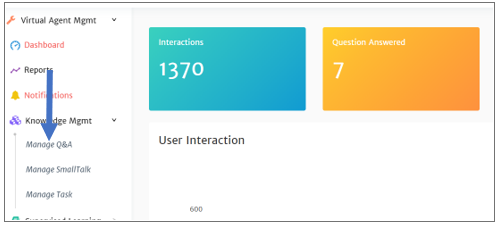
2. Click on Manage Q&A in the navigation pane on the left of your console
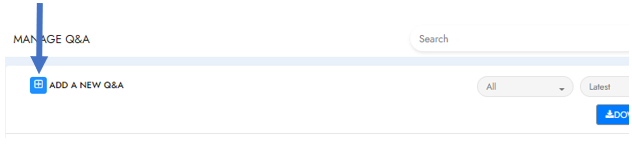
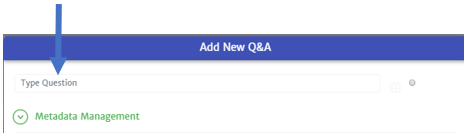
3. Click on + next to ADD A NEW Q&A
4. This will open the Text Editor
Using Text Editor
The text editor in Manage Q&A is used to create and format simple dialogues. These dialogues can include text, images, hyperlinks, and/or gifs. Once created, these articles become part of the knowledge base of the bot.
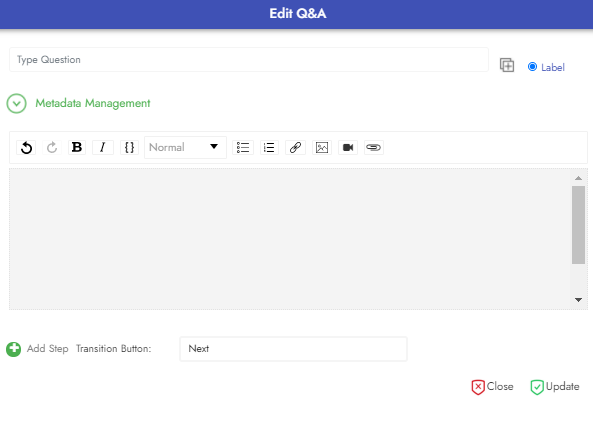
1. After opening the text editor, type the question associated with the response/answer you will be creating in the Type Question box
· When creating this keep in mind what a user will ask the bot and how you will have the bot respond
· If multiple dialogues may be relevant to the user's question, what will make them identify this as their answer? This is the label that will appear as an option for them to click on
2. Type the response/answer in the answer box
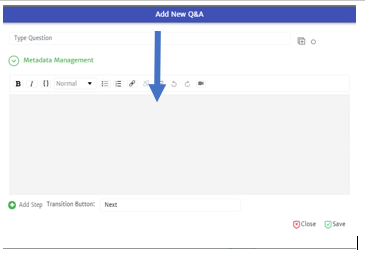
3. When creating your response/answer you can use the toolbar to format your response.
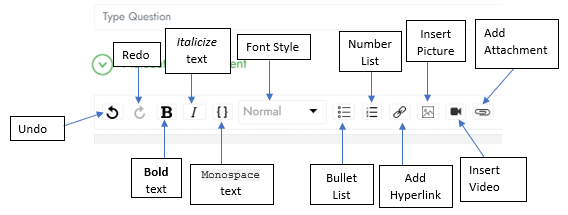
NOTE: For the steps on how to add a picture please refer to Adding Picture. For steps on how to add a video please refer to Adding a Video. For steps on how to add a hyperlink please refer to Adding a Hyperlink.
Important Note: If you have created tags you will want to add them at this point. Please read the Adding Hierarchical and Simple Tags section. Also, it is possible to add alternative questions that you want to trigger the bot to give your current dialogue. Please read the Adding Simple Dialogue Utterance Variants section for the steps.
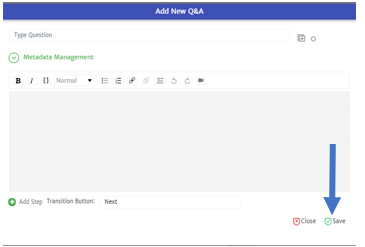
4. Click Save when complete
Adding Pictures
From PC
To add a picture from a PC to your dialogue:
1. Place the cursor on the line you would like the image
2. Click the Picture Upload button
3. Select the source of your picture, “File Upload”
· To upload a picture saved on your computer, make sure the “File Upload” option is selected. (Has a blue line under it)
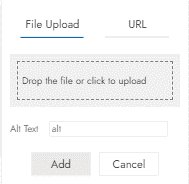
4. Add the picture to be added
· This can be done by drag and drop the file or click in the gray upload box
Important Note: Filename of images should not contain periods, dashes or underscores to avoid issues.
5. Click Add
From URL
To add a picture from a URL to your dialogue:
1. Place the cursor on the line you would like the image
2. Click the Picture Uploadbutton in the toolbar
3. Select the source of your picture, “URL”
· To upload a picture from a URL, make sure the “URL” option is selected. (Has a blue line under it)
4. Add the URL of the picture to be added
5. Click Add
**Adding a Video
**From PC or URL
When adding a video make sure the video file is:
· No more than 10 MB
· MP4 format
To add a video from a PC to your dialogue:
1. Place the cursor on the line you would like the video
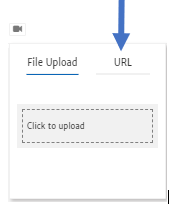
2. Click the Video Upload button
3. Select the source of your video, “File Upload”
· To upload a video saved on your computer, make sure the “File Upload” option is selected. (Has a blue line under it)
4. Add the video to be added
· This can be done by click on the gray upload box
5. The file will start uploading and will return you to the text editor screen when complete
Important Note: Filename of images should not contain periods, dashes or underscores to avoid issues.
Adding GIF
From PC or URL
To add a GIF from a PC to your dialogue:
1. Place the cursor on the line you would like the image
2. Click the Picture Upload button
3. Select the source of your GIF, “File Upload”
· To upload a GIF saved on your computer, make sure the “File Upload” option is selected. (Has a blue line under it)
4. Add the GIF to be added
· This can be done by drag and drop the file or click in the gray upload box
5. Click Add
Important Note: Filename of GIF should not contain periods, dashes or underscores to avoid issues. There is also a File size limit of 10mb.
Adding a Hyperlink
To add a hyperlink to a dialogue:
1. Place the cursor on the line you would like the hyperlink
2. Type your display text
3. Select your display text
4. Click Add Link button in the toolbar
5. Enter the URL in the Link Target box
6. Click Add
Adding an Attachment
1. Place the cursor on the line you would like the image
2. Click the Attachment Uploadbutton in the toolbar
3. Select the file you would like to attach
4. Complete the reset of your response
5. Click Update when done
Adding Hierarchical and Simple Tags
To add the tags you created:
1. Click on Metadata Management
2. If you would like to add a Hierarchical Tag, under Hierarchical Tag click Select Dimension
3. Select the relevant tags for the various levels created.
· You will have to select for the previous level before getting access to the next. Meaning you will have to select a tag for Level 1 before you get the available options for Level 2 and so on.
4. If you would like to add a Simple Tags, click Select Metadate to select the relevant tag and then click Select Value to select the relevant tag (if any).
5. Click the icon of a + in the green circle to add the Simple tag
6. When you are done modifying the dialogue, click Save

Rezolve.ai is an enterprise Agentic AI solution that deploys specialist AI agents for IT and shared services to reduce cost, accelerate resolution, and elevate employee experience.